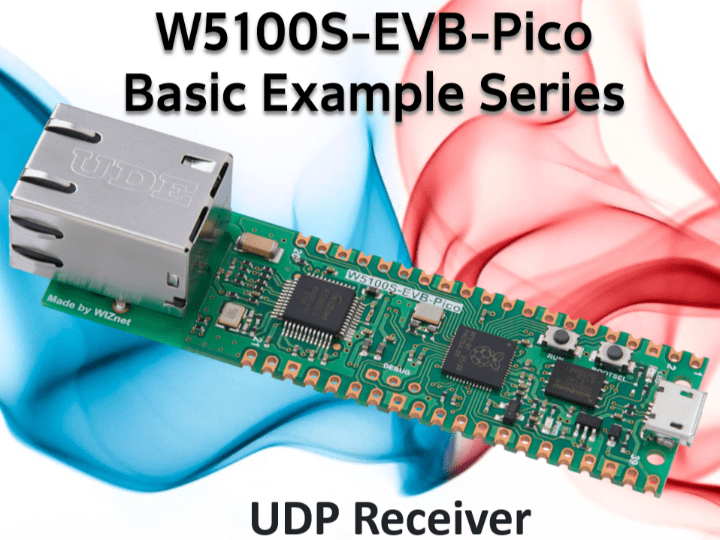
了解使用 W5100S-EVB-Pico 和 Arduino IDE 创建 UDP 接收器。 有效处理数据包详细信息。 确保发件人设置成功!

转发: Creating a UDP Receiver Using W5100S-EVB-Pico and Arduino IDE
项目介绍
了解使用 W5100S-EVB-Pico 板和 Arduino IDE 设置 UDP(用户数据报协议)接收器的简单性和速度。 UDP 是一种无连接协议,以其最小的资源消耗和速度而脱颖而出,因为它允许通过网络发送数据包,而无需在发送者和接收者之间建立正式连接。 尽管它不能保证数据包的传送或顺序,但它的好处在特定的网络场景中无疑是有价值的。
收集必需品
确保您拥有以下组件来启动该项目:
- W5100S-EVB-Pico板
- Arduino集成开发环境
- 适用于 W5100S-EVB-Pico 的 WIZnet 以太网库
- 配置为 UDP 发送方的设备或应用程序,准备将数据包发送到 W5100S-EVB-Pico 板的指定 IP 地址和端口
搭建舞台
请按照以下步骤准备您的设置:
- 将 W5100S-EVB-Pico 的 WIZnet 以太网库集成到您的 Arduino IDE 中。
- 在 W5100S-EVB-Pico 板和计算机之间建立连接。
- 在 Arduino IDE 中打开给定的示例。
- 使用您计划接收传入 UDP 数据包的端口号指定 localPort 变量。
- 将草图部署到 W5100S-EVB-Pico 板上。
代码
#include <SPI.h>
#include <Ethernet.h>
#include <EthernetUdp.h>

// Enter a MAC address for your controller below.
byte mac[] = {
  0xDE, 0xAD, 0xBE, 0xEF, 0xFE, 0xED
};

const int csPin = 17; // Chip Select (CS) pin for W5100S on W5100S-EVB-Pico
const int localPort = 9999; // Local port to listen on

char packetBuffer[UDP_TX_PACKET_MAX_SIZE]; // Buffer to hold incoming packets

EthernetUDP Udp;

void setup() {
  // Open the serial communications and wait for port to open:
  Serial.begin(9600);
  while (!Serial) {
    ; // wait for serial port to connect. Needed for native USB port only
  }

  // Initialize Ethernet with the CS pin:
  Ethernet.init(csPin);

  // Start the Ethernet connection using DHCP:
  Serial.println("Attempting to obtain IP address using DHCP...");
  if (Ethernet.begin(mac) == 0) {
    Serial.println("Failed to obtain IP address using DHCP");
  } else {
    // Print the obtained IP address:
    Serial.print("Successfully obtained IP address: ");
    Serial.println(Ethernet.localIP());
  }

  // Initialize the UDP instance and start listening on the local port
  Udp.begin(localPort);
}

void loop() {
  // Check if there are any incoming UDP packets
  int packetSize = Udp.parsePacket();
  if (packetSize) {
    Serial.print("Received packet of size ");
    Serial.println(packetSize);
    Serial.print("From ");
    IPAddress remoteIP = Udp.remoteIP();
    Serial.print(remoteIP);
    Serial.print(", port ");
    Serial.println(Udp.remotePort());

    // Read the packet into the buffer
    Udp.read(packetBuffer, UDP_TX_PACKET_MAX_SIZE);

    // Print the received message
    Serial.print("Contents: ");
    Serial.println(packetBuffer);

    // Clear the packet buffer
    memset(packetBuffer, 0, UDP_TX_PACKET_MAX_SIZE);
  }
}
执行
设置完成后,就可以将 UDP 接收器投入使用:
- 在 Arduino IDE 中启动串行监视器。
- 该草图启动通过 DHCP 保护 IP 地址的过程。 完成后,获得的 IP 地址将显示在串行监视器中。
- 该草图现在将在指定的本地端口主动侦听传入的 UDP 数据包。 当数据包到达时,相关详细信息(例如数据包大小、发送者的 IP 地址、发送者端口和数据包的内容)将在串行监视器中显示。
预期结果
您的串行监视器将反映以下内容:
Attempting to obtain IP address using DHCP...
Successfully obtained IP address: 192.168.1.100
Received packet of size 20
From 192.168.1.150, port 8888
Contents: Hello, UDP Receiver!
监视器将显示获得的 IP 地址以及有关传入 UDP 数据包的信息,包括数据包大小、发送者的 IP 地址和端口以及数据包的内容。
注意事项
在继续之前,请确保:
- 充当 UDP 发送方的远程设备或应用程序已正确配置为将数据包发送到 W5100S-EVB-Pico 板的 IP 地址和端口。
- 虽然此示例主要演示如何接收 UDP 数据包,但如果您希望将数据包传输到其他设备或应用程序,则需要合并 UDP 发送器。
- 通过 W5100S-EVB-Pico 板、Arduino IDE 和 UDP 功能的无缝组合,创建简化的网络通信设置不仅是可能的,而且是高效的。 充分利用 UDP 的优势并彻底改变您的网络协议。
文件
- UDP Receiver Example for W5100S-EVB-Pico